Brake Bleeding
Bleeding the brakes removes air from the braking system and restores a firm brake handle. It is recommended that the brakes are bled every 6-12 months to properly maintain safe braking operations.
Brake Bleeding Video
Required Equipment
- CycleBoard Brake Bleed Kit (there are also other compatible brake bleed kits on the market)
- 4 mm Allen
- Clean Rag
Procedures
- Adjust the Brake Handle Position - Loosen the two screws on the brake handle bracket and tilt the handle downward 20-30 degrees and tighten the brake handle at that angle.
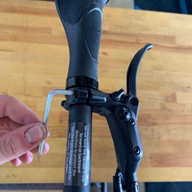
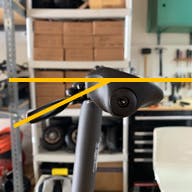
- Remove the Bleed Screw -Remove the bleed screw and the rubber O-ring with the red-handled T-15 Torx provided in the kit
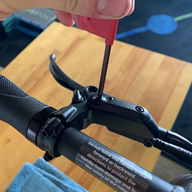
- Assemble the Syringe -Assemble a syringe with a rubber tube followed by a brass fitting (the one with the larger threaded end), and finally an O-ring on the threads of the brass fitting. Fill the syringe with 5 mL of fluid by pulling up on the syringe with the tip that emerged in the bottle of mineral oil. Screw the syringe into the brake handle and tighten it firmly by the hand.
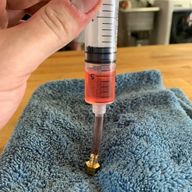
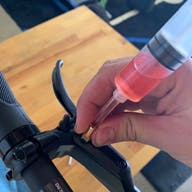
- Pump the Handle -Pull the brake handle firmly through the full travel as you would when braking and repeat every 1-2 seconds. Pause to allow air bubbles to rise into the syringe and continue pulling the brake handle. Steering the board to the right will help allow more air to rise to the top. Stop once no bubbles are rising into the syringe.
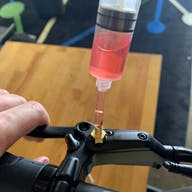
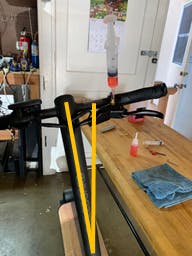
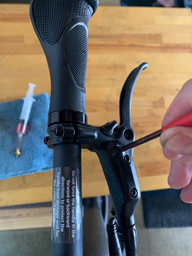
- Remove the Syringe -Remove the syringe by unthreading the brass fitting from the brake handle (turn counterclockwise). Install the O-ring and bleed screw with the red-handled T15 Torx and clean up any residual mineral oil with a clean rag. Finally, Adjust the brake handle to the desired position with a 4 mm Allen wrench.
Have more questions? Contact support@cycleboard.com


