Battery Overview (Elite)
A comprehensive guide of the 48v 9.ah (blue) battery used in the Elite model.
Charging issue - If the display turns on and with less than 5 bars of battery and the light on the charger remains green and does not ever turn red to indicate charging then follow the instructions below to check the charging fuse.
Display not turning on - If the board is charging and the display will not turn on then follow the instructions below to check the main fuse.
Required Equipment
Battery Removal
- 8 mm socket (hinging deck only)
- Ratchet (for 8 mm socket)
- 3 Allen (non-hinging deck)
Checking Fuses
Procedures
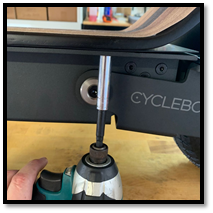
- Opening the Deck - Remove the 4 lock nuts under the left edge of the deck with an 8 mm socket to hinge and lift up on the left side of the deck to hinge open.
- Checking Main Fuse - Pull apart the battery connector on the thicker red/black wires coming off the battery. Open the black fuse box and inspect that the fuse is not blackened inside and the U-shaped metal wire inside the fuse is intact. Press the fuse firmly into the box and close the lid after checking.
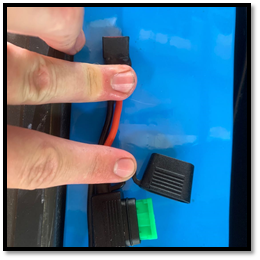
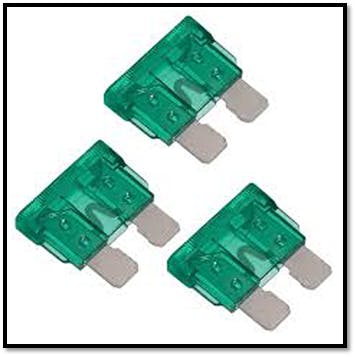
A burned-out main fuse will prevent the display from turning on.
- Checking Charging Fuse - Open the lid on the smaller black box in between the charge port and the battery. Ensure that the thin U-shaped wire inside the fuse is intact and not blackened. Press the fuse firmly into the box and close the fuse box lid.
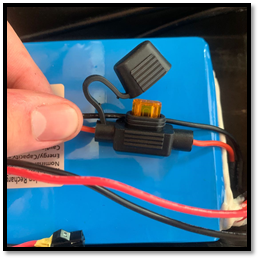
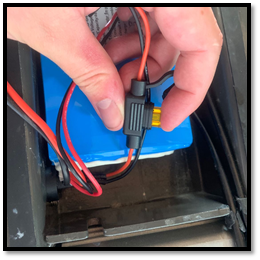
A burned-out charging fuse will prevent the battery from charging.
Blade fuse replacements can be picked up at an auto parts store or through Cycleboard.
- Battery Removal - Pull up firmly on the end of the battery with the most access in order to remove from the chassis. This will require a significant amount of force.
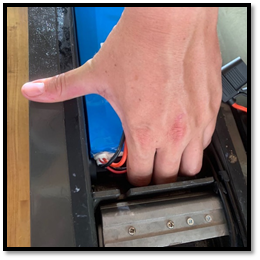
- Battery Installation - Blue Case Batteries are held in with 2” x 2” Velcro squares and the battery is only meant to be removed when it needs to be replaced. To install the new battery, remove any old Velcro from inside the chassis, test fit the battery, remove the backing from the self-adhesive from the Velcro on the new battery and install the battery by pressing firmly on top of the top after it is in place inside the chassis.
- Battery Connectors - Connect the charge port connector (thinner black and red wires) and connector the battery deans connector (thicker red/black connector). There will be a small popping noise when the dean's connector is connected.
- Closing the Deck - Fold the deck back down to close and either install the 4 locknuts with an 8 mm socket or install the 4 finger nuts by hand instead. When installing the finger nuts tighten all 4 of them down firmly by the hand and then tighten them all again by hand one more time to ensure they are fully tightened. Models with non-hinging decks will require installing the 8 screws on the top of the deck with a 3 mm Allen.
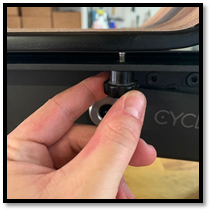
With the finger nuts installed in place of the locknuts, the deck can be opened in seconds with no tools. If the deck does not need to be opened. If the deck does not need to be opened frequently then it is recommended to keep the lock nuts installed for extra security.
Have more questions? Contact support@cycleboard.com


