Battery Overview (Elite Pro/Rover/Golf)
A comprehensive guide of the aluminum case batteries used in the Elite Pro, Rover and Golf models.
Elite Pro: 48v 12.8ah
Rover/Golf: 60v 19.2ah
Charging issue - If the display turns on and with less than 5 bars of battery and the light on the charger remains green and does not ever turn red to indicate charging then follow the instructions below to check the charging fuse.
Display not turning on - If the board is charging and the display will not turn on then follow the instructions below to check the main fuse.
Required Equipment
Battery Removal
- 8 mm socket
- Ratchet (for 8 mm socket)
- Extension for 8 mm socket
Checking Fuses
Procedures
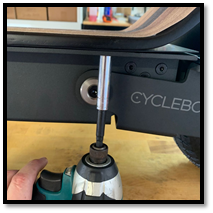
- Opening the Deck - Remove the 4 lock nuts under the left edge of the deck with an 8 mm socket to hinge and lift up on the left side of the deck to hinge open.
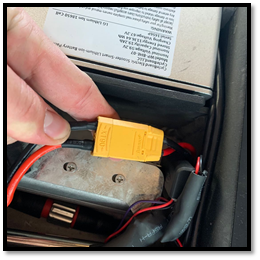
- Disconnect the Battery - Disconnect the battery by pulling apart the yellow XT-90 connector making sure to pull from the connector itself and not the wires.
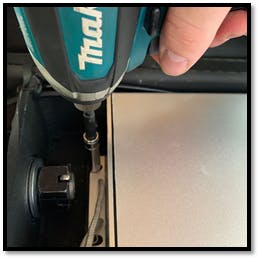
- Battery Removal - Remove the 2 locknuts in front of the battery with the 8 mm socket on an extension. Skip steps 4 and 5 if the board is functioning normally.
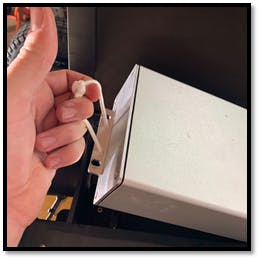
- Checking Main Fuse - Open the black fuse box and inspect the near the battery connector and ensure that the fuse is not blackened inside and the U-shaped metal wire inside the fuse is intact. Press the fuse firmly into the box and close the lid after checking.
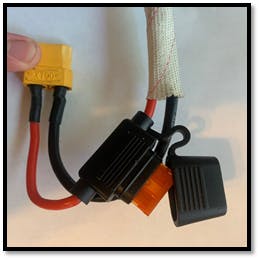
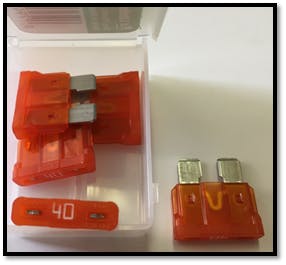
A burned-out main fuse will prevent the display from turning on. Blade fuse replacements can be picked up at an auto parts store or through Cycleboard.
- Checking Charging Fuse - Remove the four screws on the end cap of the battery with the red and black wires and open the fuse box inside. Ensure that the thin U-shaped wire inside the fuse is intact and close the box.
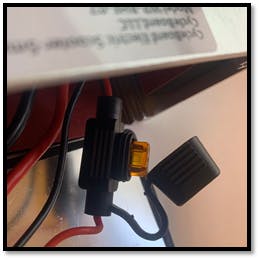

A burned-out charging fuse will prevent the battery from charging. Mini blade fuse replacements can be picked up at an auto parts store or through Cycleboard.
- Close Battery - Reinstall the battery end cap with a Phillips screwdriver.
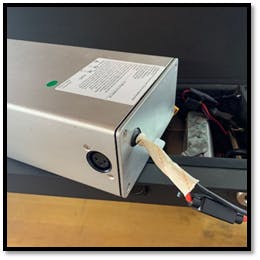
- Install the Battery - Slide the battery into the compartment by dropping the wire end in first near the rear of the board and sliding back until the front and drops into place. Pull the excess fabric covering the red and black battery wires and plug the battery back in.
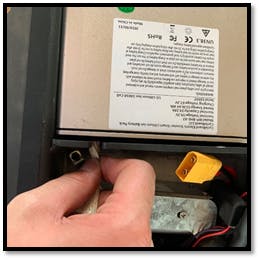
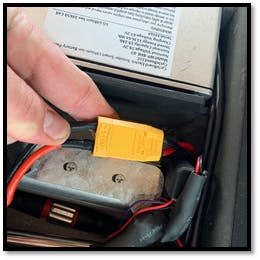
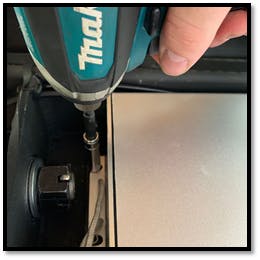
- Battery Alignment - Press the front of the battery toward the rear of the board firmly and install the 2 locknuts at the front with an 8 mm socket on an extension.

- Closing the Deck - Fold the deck back down to close and either install the 4 locknuts with an 8 mm socket or install the 4 finger nuts by hand instead. When installing the finger nuts tighten all 4 of them down firmly by the hand and then tighten them all again by hand one more time to ensure they are fully tightened.
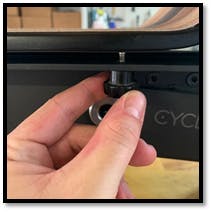
With the finger nuts installed in place of the locknuts, the deck can be opened in seconds with no tools. If the deck does not need to be opened.
Have more questions? Contact support@cycleboard.com


