Brake Pad Replacement
Brake material will wear out over time as the mechanical brakes are used which will require replacement. The pads can also get contaminated by dirt and other debris which may result in a squeaking noise most noticeable at slow speeds when coming to a complete stop.
Required Equipment
- 3 mm Allen (only needed if the rear fender is installed)
- 5 mm Allen
- 8 mm Socket (only needed if the rear fender is installed)
- Needle Nose Pliers
- New Brake Pads
Procedures
- Opening the Deck - Models with a rear fender installed will require the removal of the fender to access the caliper mounting screws. Remove the 4 lock nuts under the left edge of the deck with an 8 mm socket to hinge and lift up on the left side of the deck to hinge open.
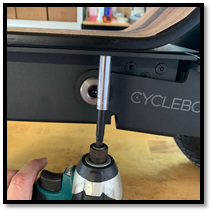
- Fender Removal - Remove the fender mounting screws with a 3 mm (older models may require a 4 mm Allen) and tuck the fender away on top of the controller.
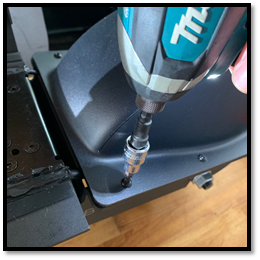
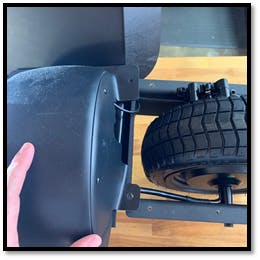
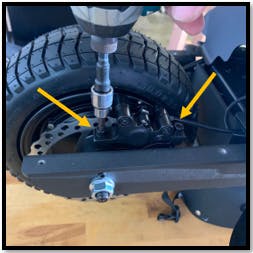
- Remove the Caliper - Fully remove both screws that mount the brake caliper with a 5 mm Allen and pull the caliper off the mount and brake disk.
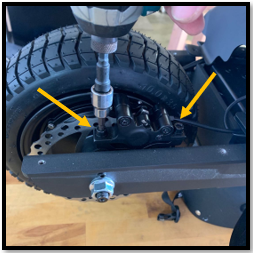
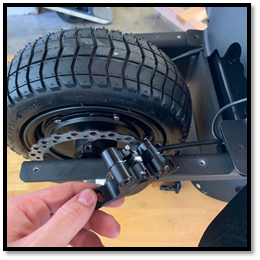
Avoid touching the surface of the brake disk as well as the surface of the brake pads to prevent contamination.
- Remove the Brake Pads - Straighten the end of the cotter pin and pull the pin out.
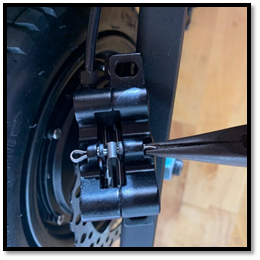
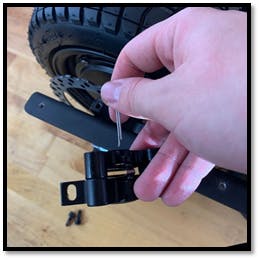
- Install the Brake Pads - Slide the old brake pads out and install the new brake pads.
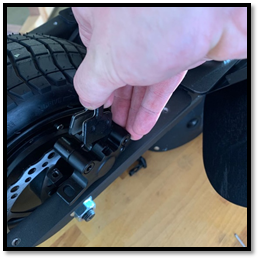
- Bend the Cotter Pin - Slide the cotter pin in from the tire side of the caliper and bend the end with needle-nose pliers to a 45-degree angle.
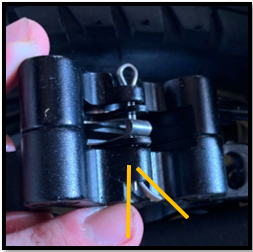
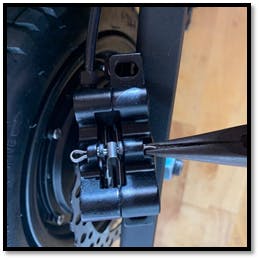
It is important to ensure the cotter pin is inserted from the tire side to properly secure the brake pads.
- Mount the Caliper - Install the caliper with the mounting bolts using a 5 mm Allen and loosen the bolts 1-2 turns after tightening all the way down.
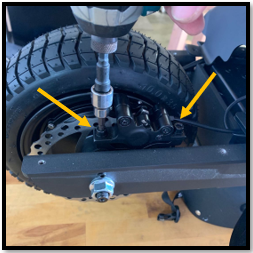
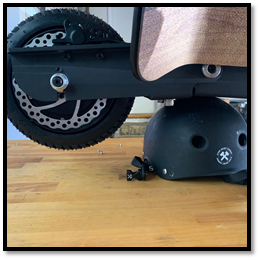
- Adjusting the Caliper - Place a helmet or a small box under the rear of the board to get the rear tire off the ground. Adjust the caliper side to side at the front and rear screw to align the caliper with the brake disk. There should be a sliver of light visible between the brake disk and the pads when looking straight down. Spin the tire to ensure that the disk does not rub the brake pads and tighten the bolts down firmly. The bolts may need to be loosened and lightened multiple times to align the caliper and it will help to focus on aligning the caliper at one screw and then switching back and forth until fully aligned.
- Mount the Fender - Reinstall and tighten all screws before closing the deck.
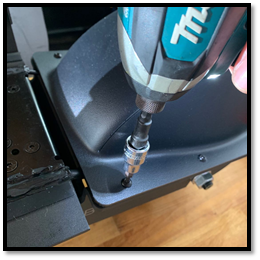
- Close the Deck - Close the deck and install the 4 lock nuts under the left edge of the deck with an 8 mm socket.
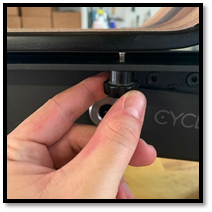
With the finger nuts installed in place of the locknuts, the deck can be opened in seconds with no tools. If the deck does not need to be opened frequently then it is recommended to keep the lock nuts installed for extra security.
Have more questions? Contact support@cycleboard.com


