Brake Sensor Adjustment
All Models - The brake sensor performs the function of cutting power to the motor when the brake handle lever is pulled.
Adjust the brake sensor only if the display turns on and there is no power when the throttle is engaged while pushing the board (there may or may not be an error code on the display)
Required Equipment
- 8 mm Wrench or Adjustable Crescent Wrench
- 2.5 mm Allen
Procedures
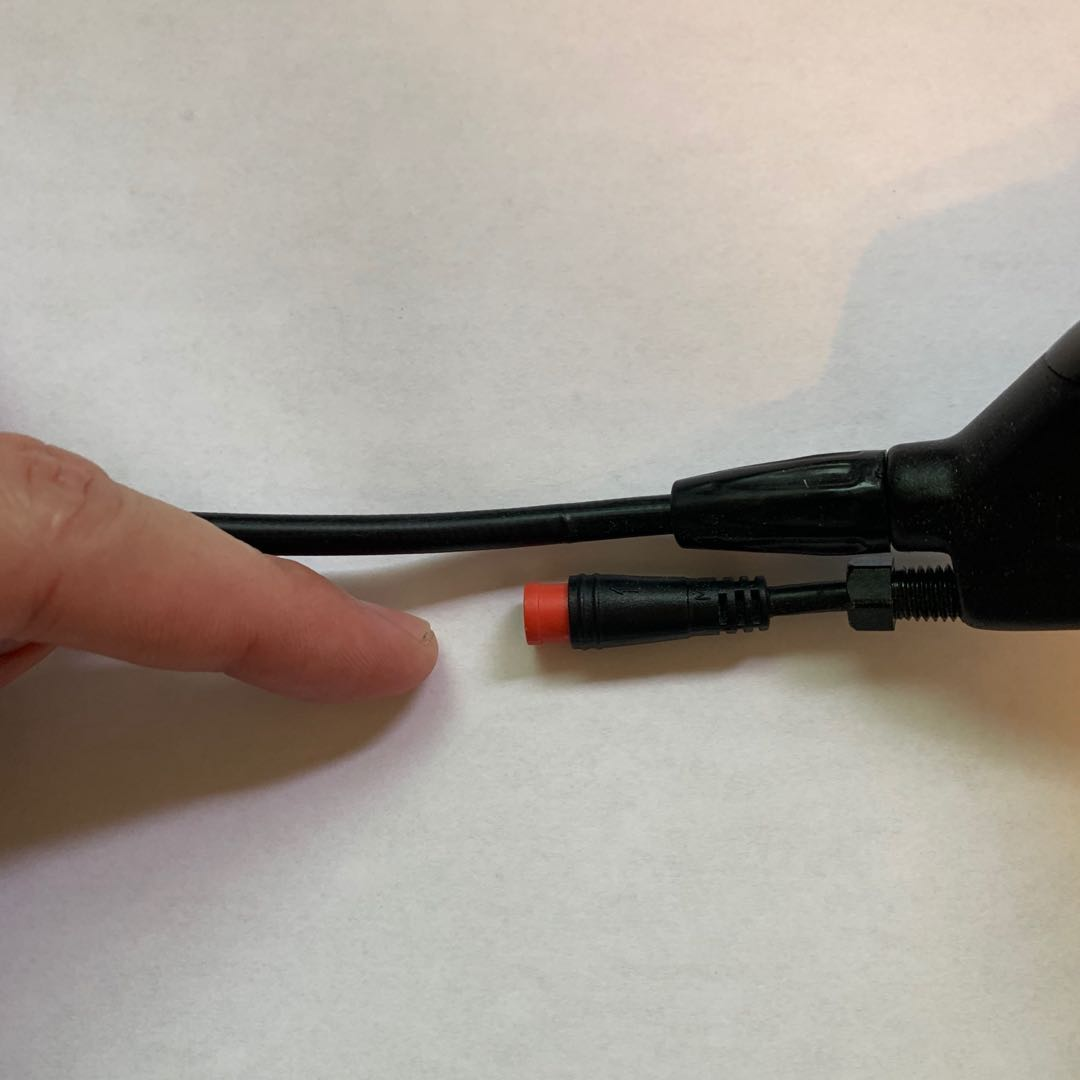
- Unplug the Brake Sensor - Unplug the lower cable on the brake handle by firmly pulling apart the connector. With the sensor connector unplugged, turn the display on and press the throttle while pushing the board. If the motor now receives power then continue to step two. If the board is still inoperable check for error codes and continue with general troubleshooting procedures.

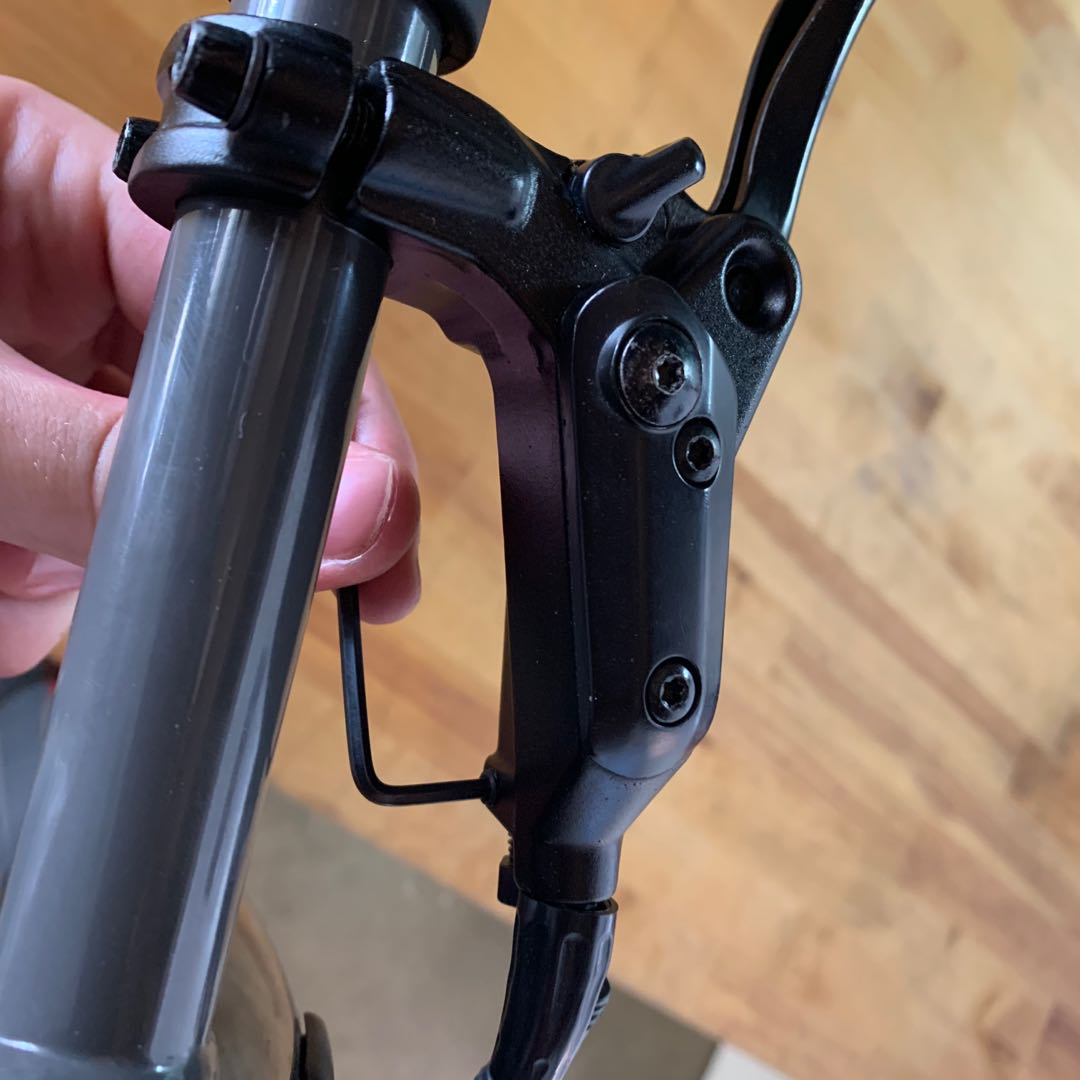
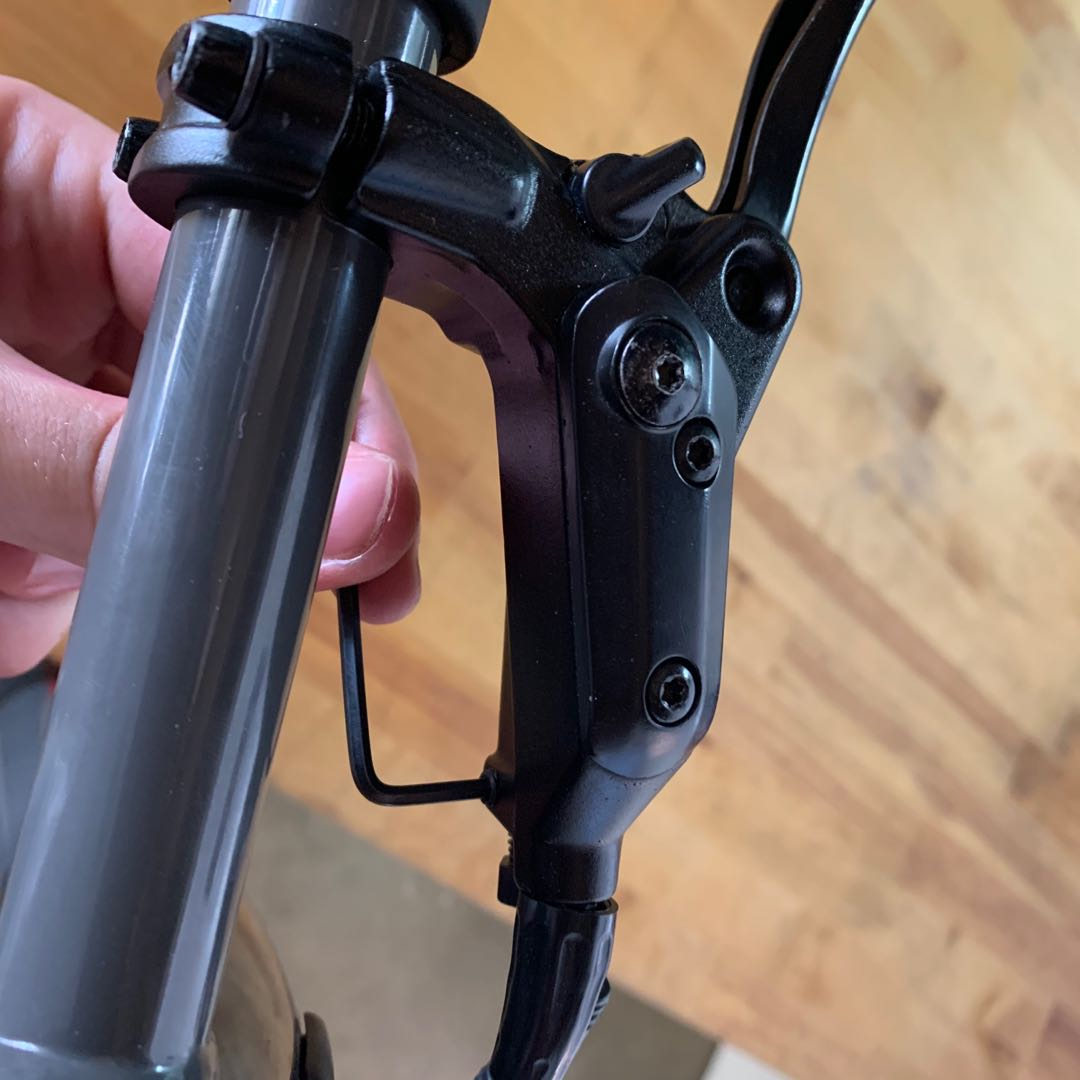
- Brake Sensor Set Screw - Loosen the brake sensor set screw 1 full revolution (counterclockwise) with a 2.5 mm Allen.

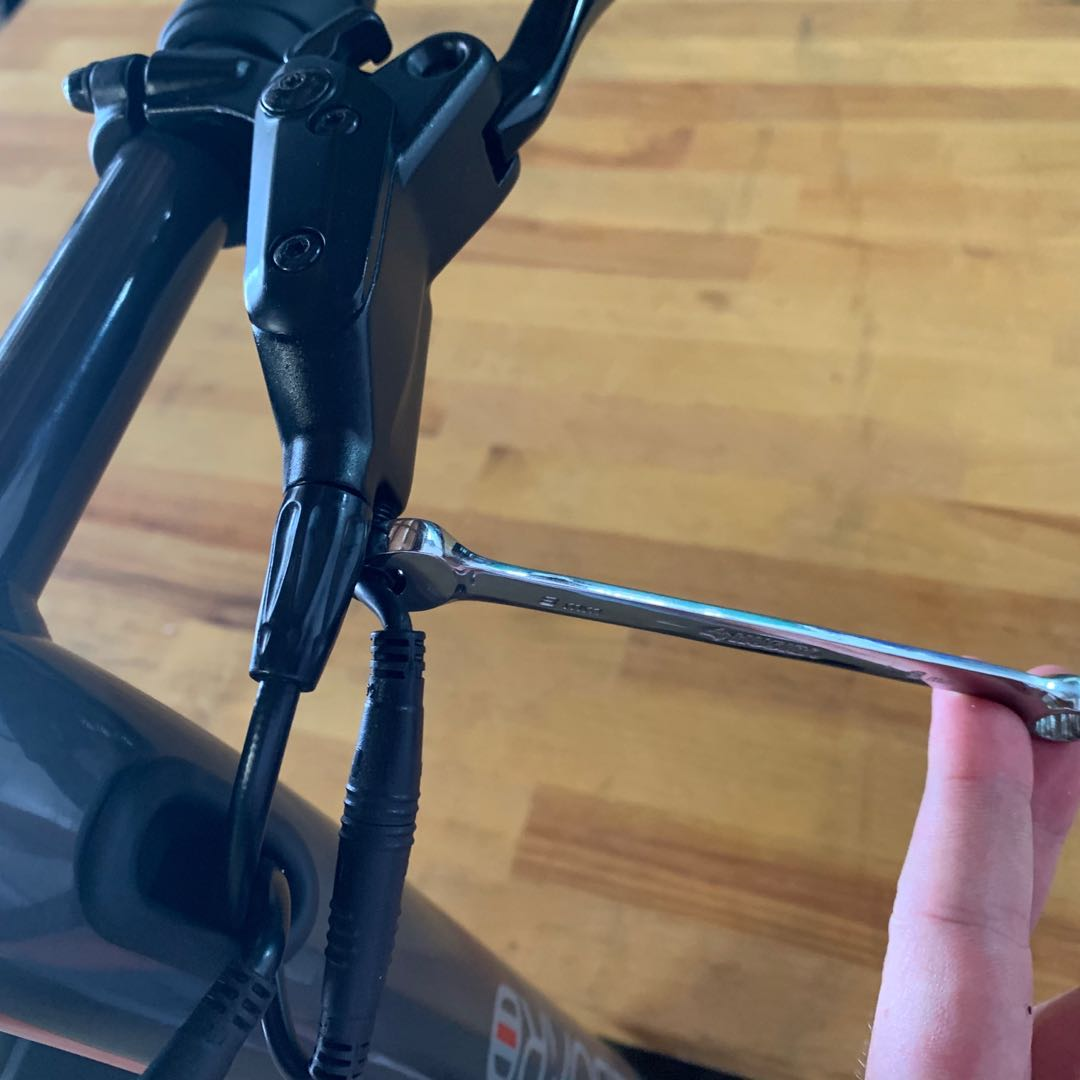
- Adjust the Brake Sensor - Plug the brake sensor connector back in and loosen the brake sensor with an 8 mm wrench or an adjustable crescent wrench ½ of a turn counterclockwise.

- Ride the Board - Turn the display on and press the throttle while pushing the board to see if the motor is receiving power. Repeat steps 3 and 4 by loosening the sensor ½ of a turn at a time and trying to ride until the board operates normally and then loosening the brake sensor ½ of a turn extra.
- Brake Sensor Set Screw - Tighten the set screw next to the sensor with a 2.5 mm Allen (clockwise).

Have more questions? Contact support@cycleboard.com


