Removing the CycleBoard Elite Pro Controller
All CycleBoard Elite pro models come with a controller unit in the chassis of the board. If your board has a defective controller and needs to be replaced, follow the steps below:
Removing the Elite Pro Controller Video
Required Equipment
- New Controller Unit
- 2.5 mm Allen Key
- Some Elbow Grease
Procedures
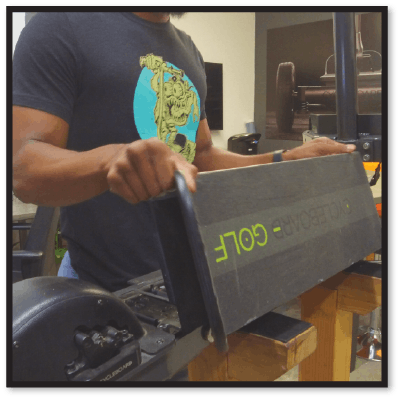
- Opening your CycleBoard Chassis- Remove the locking deck bolts from under your CycleBoard. Open the hinging deck to expose the inside of the CycleBoards Chassis. This will give you access to the controller unit, located towards the back of your Board.
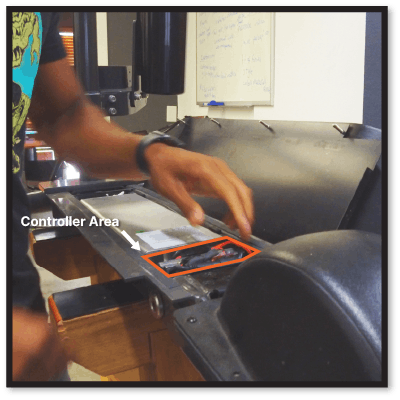
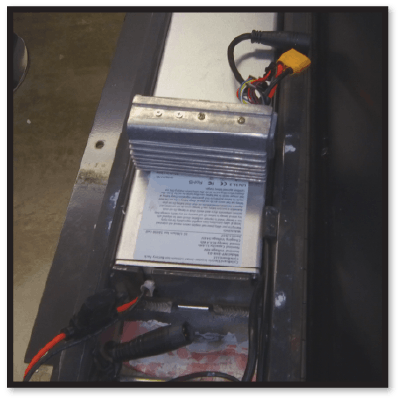
- Locate the ELITE PRO CONTROLLER UNIT- Untuck the cables from the controller area, exposing the boards controller unit (Small silver Box).
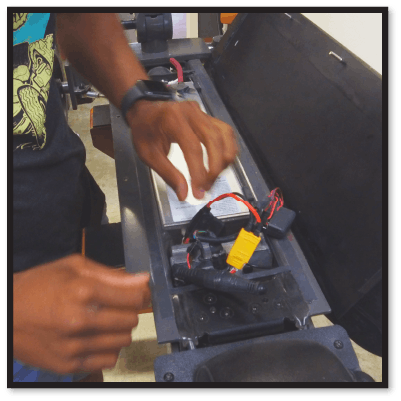
- Locate & disconnect the BRAKE SENSOR- The smallest of the wire connections. You may have to remove a shrink wrap coating on the ends of the wire connectors. Go ahead & do so by carefully cutting off the shrink wrap with a pair of scissors.
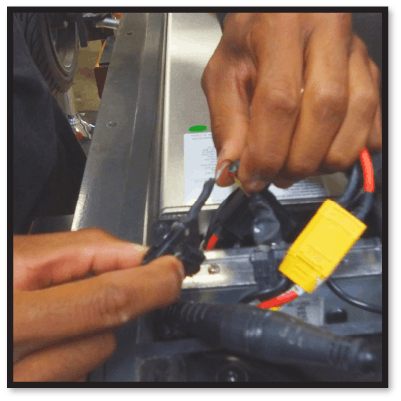
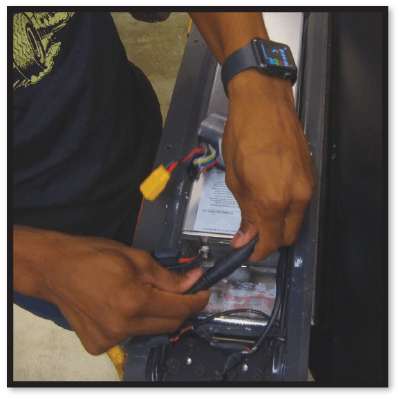
- Pinch the sides of the connector- Pinch the sides with your index finger & thumb. Using your other hand, gently pull the connectors apart, making sure to not pull from the wires themselves.
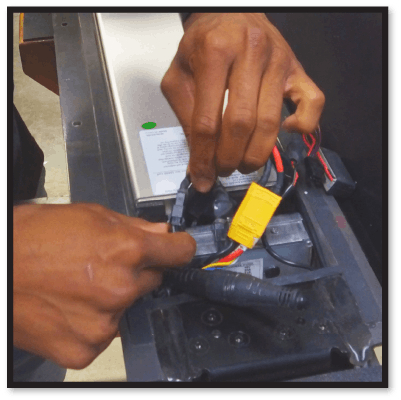
- Locate & disconnect the THROTTLE DISPLAY CONNECTOR- The medium sized wire connector. Using the same method as the brake sensor, carefully pinch & pull apart the ends of the brake sensor connectors.
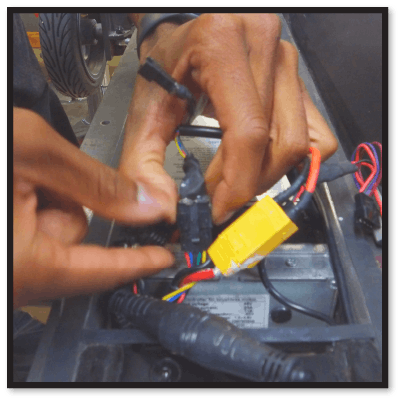
- Under your CycleBoard, you will find two small black screw holes. Once you locate the holes, you will notice that there is a protective coating covering the screw holes. You will need to remove this coating to get to the controller mounting screws.
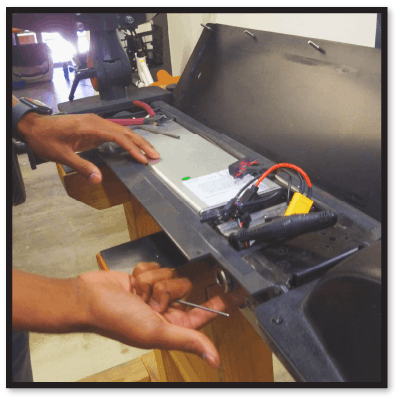
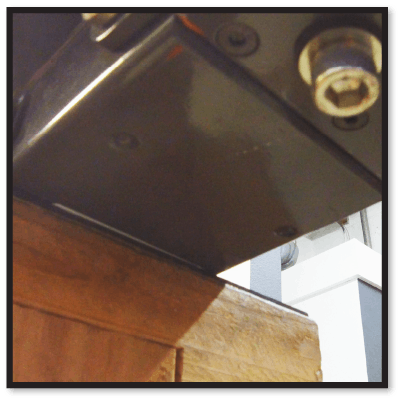
- Using your 2.5mm ALLEN KEY- Scrape off the protective coating exposing the controller mounting screw holes. Once you have removed the coating, use your 2.5mm Allen key to unscrew both of the mounting screws holding down the controller unit.
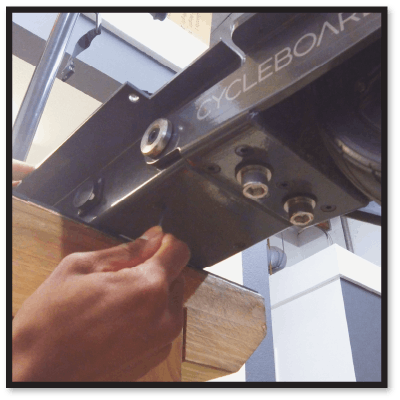
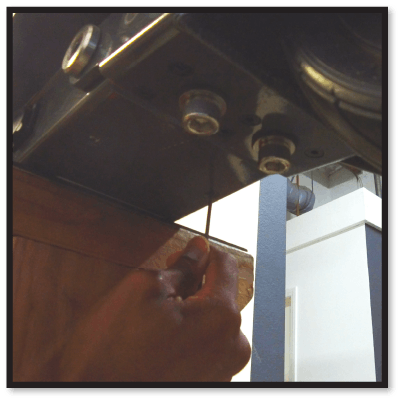
- Once the screws are removed from under the deck, clear any other stuffed wires from around the controller area.
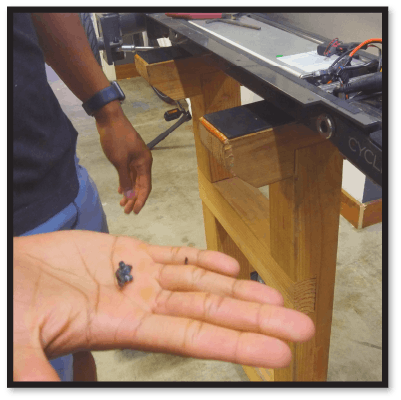
- USING YOUR FINGERS- Carefully rock the controller back and forth, loosening the controller from the thermal bonding underneath the unit.
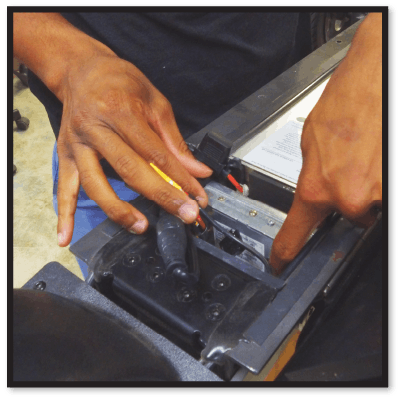
- Once you feel it detach you should now be able to move the controller around freely.
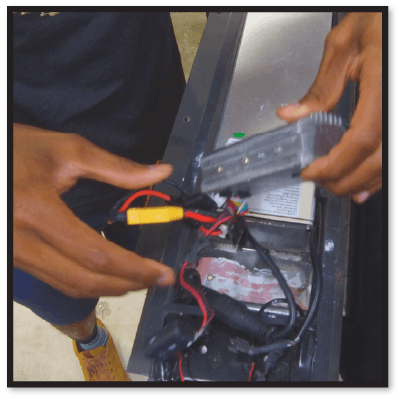
- Locate & disconnect the TAIL LIGHT CONNECTOR- The smallest remaining wire connector. It should be connected to a small rectangle DC power converter.
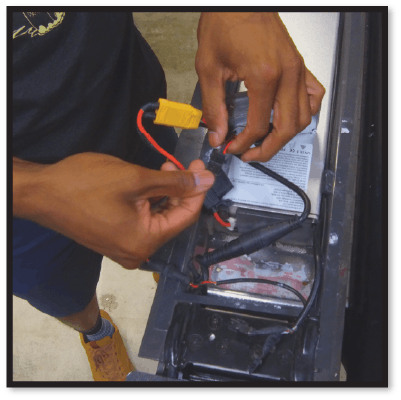
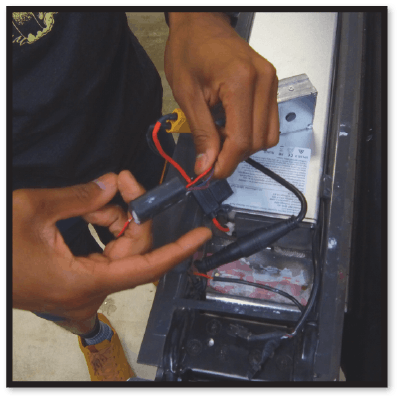
- Locate & disconnect the BATTERY CONNECTOR- The big yellow connector cable. Pinch and carefully pull the connector ends apart.
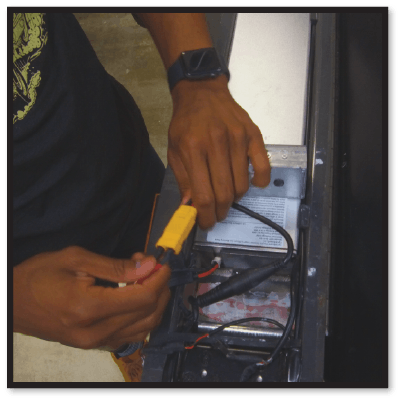
- Lastly, locate & disconnect the MOTOR CONNECTOR- The big black long connector cable. This will be the last connector holding in your controller unit.
- You are now ready to install your new CycleBoard Elite Pro Controller unit!
Have more questions? Contact support@cycleboard.com


