Throttle Replacement – Elite Pro/Rover G1
Throttle replacement guide for Rover and Elite Pro models delivered in 2019 with the thumb throttle separate from the display.
Required Equipment
- 3 mm Allen
- 5 mm Allen
- Flat Head Screwdriver
Procedures
- Hand Grip Removal - Use a 3 mm Allen Wrench to loosen the screw on the collar of the handgrip and a 5 mm Allen to loosen the screw at the end of the handgrip (2-3 turns). Twist and pull off the handgrip.
- Throttle/LCD Removal - Use a 3 mm Allen to loosen the 4 screws under the LCD brackets and the screw on the throttle and slide all the components off the handlebar.
- Throttle Separation - Use a flat head screwdriver to separate the old throttle by inserting it into the body of the throttle and twisting. Pull the wire and sensor out of the slot in the old throttle and throw away the rest of the throttle components.
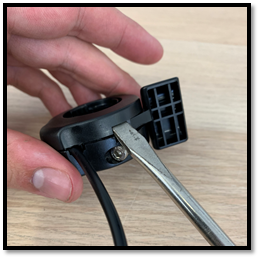
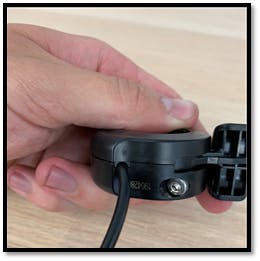
- Throttle Assembly - Remove the wire and sensor from the new throttle and insert the sensor from the LCD display into the new throttle. Tuck the silver collar on the wire into the body of the new throttle.
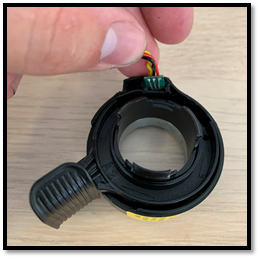
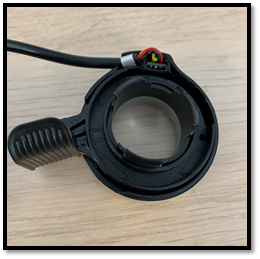
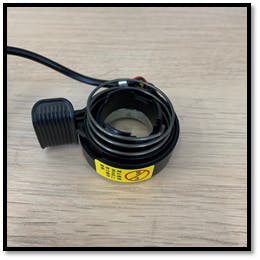
- Throttle Assembly - Install the spring back onto the body of the new throttle making sure the end of the spring is inserted into the hole on the thumb throttle component. Install the throttle cover onto the spring so the other end of the spring is inserted into the hole on the cover. Twist the cover counterclockwise with respect to the body of the throttle and snap it into place when the parts align.
Have more questions? Contact support@cycleboard.com


